Chicago Harbor Lighthouse — Chicago, Illinois (A closer look)

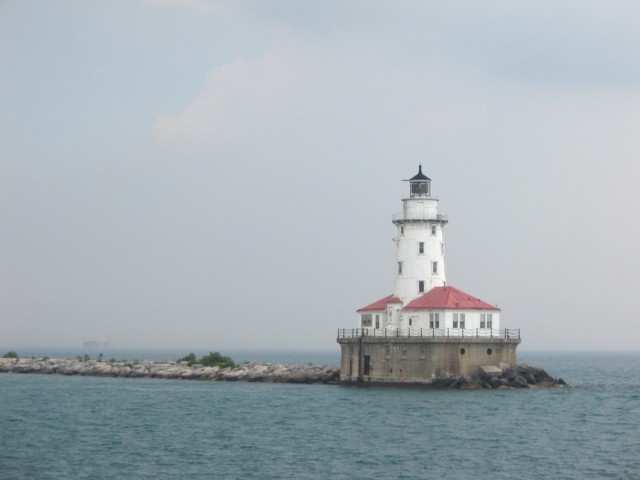
It was only 13 days ago that I took my first photos of this lighthouse from the shore near Navy Pier. Today I got a lot closer on the Shoreline Architecture Cruise.


Chicago Harbor Lighthouse with the light that marks the opposite breakwater

Chicago Harbor Lighthouse

Chicago Harbor Lighthouse

Here’s another shot of the light that marks the opposite breakwater.

Entrance to Chicago Harbor

Posted in Illinois | Comments Off on Chicago Harbor Lighthouse — Chicago, Illinois (A closer look)

Chicago Harbor Southeast Guidewall Light — Chicago, Illinois

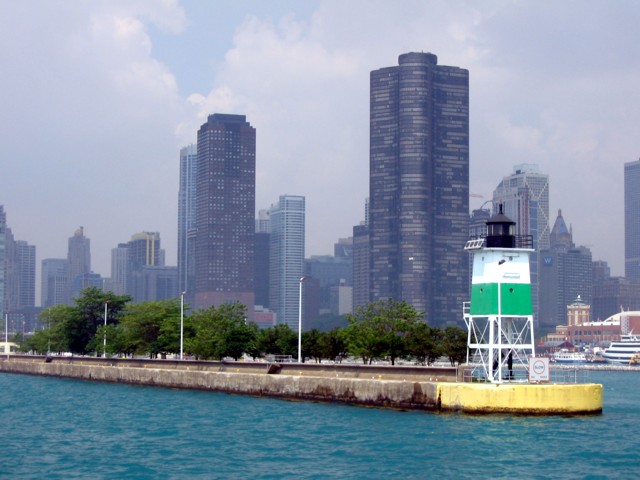
Chicago Harbor Southeast Guidewall Light with Lake Point Tower in the background

Chicago Harbor Southeast Guidewall Light


This light sits on the breakwater just outside the Chicago Harbor Lock. It was built in 1938, and the light is 48 feet above lake level. We cruised past as we exited the lock on the Shoreline Cruise Architecture Tour.

Posted in Illinois | Comments Off on Chicago Harbor Southeast Guidewall Light — Chicago, Illinois

Shoreline 90-Minute Lake and River Architecture Cruise — Chicago, Illinois

After a mad dash by river taxi, regular taxi and foot, my coworkers and I made it to the boat dock at Navy Pier a couple of minutes before the tour left. It was a hot, sunny day (at this point, anyway), but we found seats on the upper deck.

The ride went up the Chicago River to a point just beyond the old Chicago Post Office building, then turned around and headed back. We passed through the lock and spent the last 45 minutes cruising in a circle inside the breakwater past the lighthouse before docking at Navy Pier.

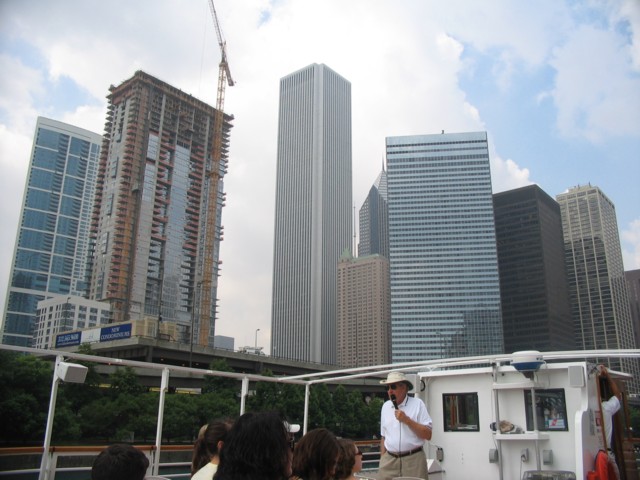
Our guide was informative and interesting as he pointed out the buildings we passed, but there were a lot of distractions and it was easy to tune him out. Still and all, it was an enjoyable 90 minutes. The lake bit was particularly pleasant because clouds were moving in, bringing cooler temperatures, and the breeze picked up considerably.

Here’s a random smattering of what we saw:

The Aon Center, the tall white building in the left-hand photo, was originally called the Standard Oil Building and then the Amoco Building. At the time, it the tallest building in the world that had a change in name — surely one of the most pointless bits of trivia you’ll ever hear.

When we mentioned to our guide that the lock house was built to resemble a ship, he went off on a tirade about the waste of tax dollars and had nothing at all good to say about the building.

In the photo on the left, the Chicago Harbor Southeast Guidewall Light is on the right and the Chicago Harbor Lighthouse is in the distance.

I’ve always enjoyed a nice boat ride, and this one gave me an interesting (and somewhat educational) perspective on Chicago. And it was a great way to spend a hot morning. It also enabled me to check off another item on my list of 30 Things Everyone Should Do In Greater Chicagoland.

Posted in Illinois | Comments Off on Shoreline 90-Minute Lake and River Architecture Cruise — Chicago, Illinois

Dog n Suds — Grayslake, Illinois

This particular restaurant is also a new one on my list of Dog n Suds drive-ins.

Dog n Suds, Grayslake, Illinois

My daughter and I drove over for lunch. She ordered a foot-long hot dog, onion rings, chocolate pudding and a root beer float. I had two corn dogs, coleslaw, onion rings and a root beer. The hot dog and corn dogs were very good, and so was the coleslaw. The onion rings were a disappointment — they were the breaded onion bits of the sort you get at Burger King instead of true deep-fried onion rings. The root beer also seemed a little watery.


We had a good time, and were happy to check it off our list, but when we get the urge for a local Dog n Suds, we’ll head to Richmond.

Posted in Illinois | Comments Off on Dog n Suds — Grayslake, Illinois

How to refinish a dining room

  1. Discuss with your wife what color you would like the walls to be.
  2. Stand by passively while your wife changes her mind seven times.
  3. Agree with your wife’s final decision.
  4. Agree again with the decision she makes after her final decision.
  5. Attempt to peel off the existing wallpaper.
  6. Discover that the existing wallpaper is not dry-strippable.
  7. Attempt to remove the wallpaper with warm water, a sponge, and a scraper.
  8. Discover that you’re digging gouges in the wall.
  9. Remember that a friend gave you the DIF that she used to remove her wallpaper.
  10. Apply the DIF.
  11. Peel the wallpaper off wall in two-inch bits.
  12. Run out of DIF.
  13. Go to the hardware store and buy more DIF.
  14. Continue peeling the wallpaper off wall in two-inch bits.
  15. Realize that you’re peeling as much drywall as you are wallpaper.
  16. Return to the hardware store and buy a wallpaper scorer.
  17. Run the scorer over the wallpaper.
  18. Continue peeling the wallpaper off the wall in two-inch bits.
  19. Go to the hardware store and rent a wallpaper steamer.
  20. Peel the remaining wallpaper with the wallpaper steamer.
  21. Notice that the wall is pitted, gouged, torn, and covered with tiny holes where you used the scorer.
  22. Stare at the wall and wonder what to do next.
  23. Go to the hardware store to buy TSP pre-paint surface preparation.
  24. Clean the wall.
  25. Find the bag your  friend gave you when she gave you the DIF and discover that she also gave you a bottle of TSP.
  26. Apply Spackle to pits, gouges, tears, and tiny holes in one wall.
  27. Allow the Spackle to dry.
  28. Sand the wall.
  29. Reapply Spackle to any places that still aren’t smooth.
  30. Allow the Spackle to dry.
  31. Sand the wall.
  32. Come to the conclusion that Spackle isn’t the answer.
  33. Contemplate hiring someone to plaster the wall or put up new drywall.
  34. Decide to put up new wallpaper instead.
  35. Discuss with your wife what pattern of wallpaper you would like to buy.
  36. Stand by passively while your wife changes her mind several times.
  37. Order samples of several patterns of toile wallpaper.
  38. Purchase paint for the portion of the wall beneath the chair rail.
  39. Paint the lower portion of the walls red.
  40. When the toile wallpaper samples arrive, tape them to the walls above the chair rail.
  41. Discuss with your wife which of the samples you prefer.
  42. Stand by passively while your wife changes her mind several times.
  43. Agree with your wife’s final decision.
  44. Order the wallpaper.
  45. Discover the style you chose is no longer in stock.
  46. Decide you don’t like the other styles that you have samples of.
  47. Make a decision to purchase textured, paintable wallpaper.
  48. Discuss with your wife which texture you prefer.
  49. Stand by passively while your wife changes her mind several times.
  50. Agree with your wife’s final decision.
  51. Agree with the decision your wife makes after her final decision.
  52. Order the wallpaper.
  53. Discover the style you ordered is no longer available.
  54. Order your second choice.
  55. Receive notice that it’s on back order and won’t be in stock for a couple months.
  56. Cancel the order.
  57. Go to wallpaper store and look at every style of wallpaper in stock.
  58. Tell your wife what you think about the various styles she looks at.
  59. Stand by passively while your wife changes her mind several times.
  60. Agree with your wife’s final decision.
  61. Purchase the wallpaper for $100.
  62. Take a day off work and apply the wallpaper to the wall. (For tips on applying wallpaper with your wife, click here.)
  63. With an Exacto knife, trim the wallpaper neatly.
  64. Decide that your dining room now looks like a room in a Ramada Inn.
  65. Determine to live with it.
  66. While buying something else at a home improvement store, notice they have textured, paintable wallpaper for $50.
  67. Sigh.
  68. Buy the textured, paintable wallpaper.
  69. Strip the wallpaper you just put on the wall off the wall.
  70. Discover that only the outer layer comes off and that your wall is still covered with paper.
  71. Contemplate moving.
  72. Contemplate putting up the textured, paintable wallpaper over remaining layer of previous wallpaper.
  73. Remove inner layer of previous wallpaper with hot water, a sponge, and a scraper.
  74. Clean the wall with TSP pre-paint surface preparation.
  75. Put up textured, paintable wallpaper.
  76. Go to store to the hardware store to buy paint and crown molding. Discover that the store doesn’t have the molding style you want, so just buy paint and crown molding corner blocks.
  77. Drive to another store to buy crown molding.
  78. Measure and cut the crown molding.
  79. Search through the garage for stain.
  80. Apply stain to the crown molding.
  81. Paint the textured, paintable wallpaper.
  82. Realize that the textured, paintable wallpaper is very absorbant.
  83. Give the textured, paintable wallpaper a second coat.
  84. Realize that two coats of paint aren’t going to be enough.
  85. Go to the hardware store to buy additional paint.
  86. Give the textured, paintable wallpaper a third coat.
  87. Apply a second coat of stain to the crown molding.
  88. Wonder if the crown molding really needed a second coat.
  89. With an Exacto knife, trim the wallpaper neatly.
  90. Put up the crown molding.

And there you have it. This list is precisely what we did in our dining room without exaggeration. We started the project in February and finished it this past weekend.

It looked like this to begin with:

Here’s what it looked like right after we took the first wallpaper off:

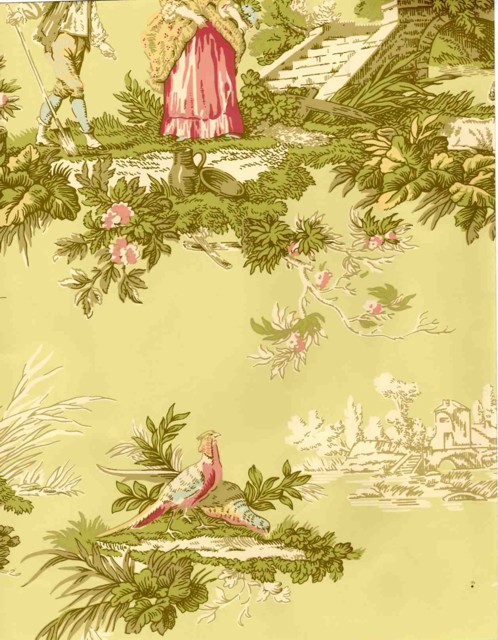
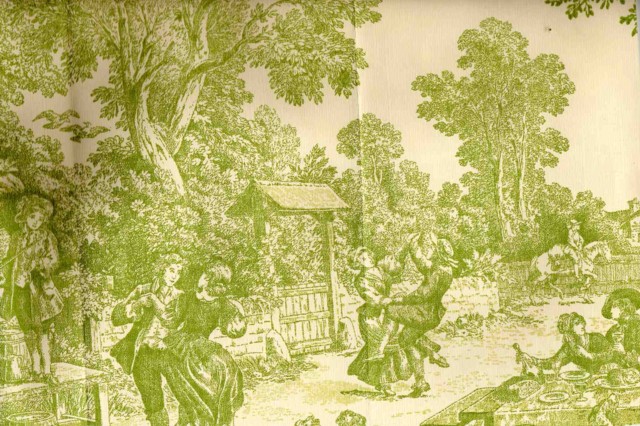
And the wallpapers — toile on the left and in the middle. Ramada Inn on the right:
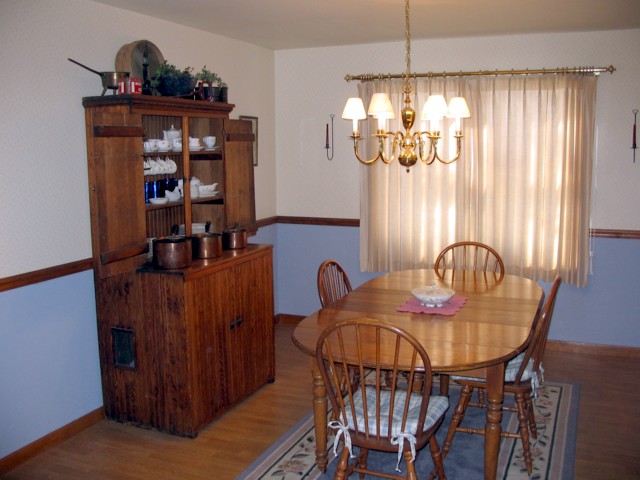
And all of that to get to this:
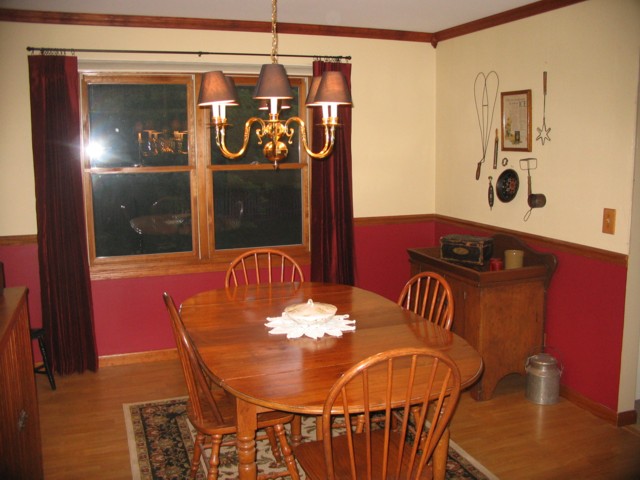
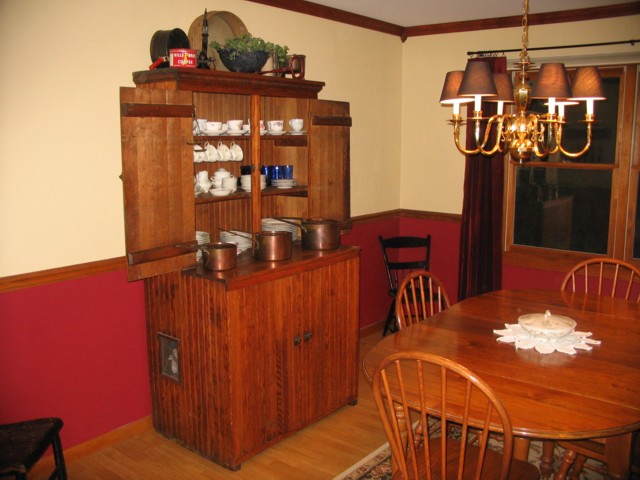
The finished dining room

Finished dining room

Posted in Stories | 3 Comments